Monday, July 16, 2012

Finishing touches... on the outside!

The front was just painted

Todd painting the right side

Awesome acrobatics!


Almost done... they finished the day I took this picture 7/15

Wednesday, July 4, 2012

July 5, 2012

The house has all the siding complete.. now they have to paint it

The front Porch

the kitchen coming in from the garage

the stairs

the Master, they are putting in the base molding. Notice the fan :)

master bathroom with toilet and tiles done

The mirrors should be put up today or tomorrow

Loft .. notice a fan :)

boys room... with fan :)

fridge with awesome chandelier

kitchen from other side
Doors are in, base molding going in, fans hung, switches and outlets plated, and siding is all hung... what is left???
1. Electricity
2. final plumbing in bathrooms and refrigerator
3. Paint and caulk on outside of house
4. gutters all that goes with them
5. Garage door
6. final grading on lawn
7. sod
hhmmm I'm sure I'm forgetting some other things... but we are getting pretty close!

Monday, July 2, 2012

Adventures in upholstery

Okay, so I have this glider. This wonderfully comfortable, awfully stained, and smelly glider. What can I say, I love that stinky thing! but I needed to update it, give it a fresh look, and make it a little more appealing and happy to look at. So....
This was the beginning product
After I finished I noticed I should have taken process pictures... so I will try to explain. I took the top cushion and put it on top of the fabric I chose (outdoor durable fabric), make sure the fabric is right sides in with the cushion inside. Pin around the cushion to make sure you have the shape and can follow it on your machine. Allow a half inch or more seam allowance. I left a little more because I wanted to put a little light batting inside. I then took the cushion out of the pinned material and sewed the edges together, minus the bottom seam. Then I took a piece of lightweight batting and sewed in on covering one side of the material on the inside of the fabric (since I did not want to cover both sides). Then I sewed along the edges again. I slid the cushion back in and sewed the bottom shut!
The first cushion was done during nap time.

The bottom cushion done
 The top and bottom cushions were done following the same pin and sew directions. I applied a thin batting to the top of the bottom cushion and the front of the top one.
The finished product
The arm rests were a little tricky... especially since I was tired and ready to be done at this point.. So I cut out the fabric for the top and bottom pieces, there are snaps on the original cushions so I made button holes for those. I pinned the whole mess together and started to sew... much to my dismay by the time I got to the other side my seams were a little awry.. so I scratched trying to follow the pattern on the original arm rests and just took the padding out, shoved it into its new home, and made a ribbon to tie the button holes together keeping the arm rests on... Not too bad for a first time!!
Now I have to paint the chair and it will like new again!! I love refurbishing stuff.. I wonder what I can do next??

Monday, June 25, 2012

Still plugging along...

Feels like is has been a while since I have posted... maybe because so much has been going on.
Okay so in the last 2 weeks we have:
1. Almost all our plumbing completed (our refrigerator had to be re-plumbed since I moved it)
2. Our water turned on
3. all electrical finished and inspection passed
4. All outlets and switches installed
5. Stairs finished
6. Ceiling painted
7. All cabinets installed and ready for handles
8. The stucco guys have will finish their job within the next day or so. They are only doing bands around the windows to assure no water gets in
9. The hardy board is going up ...

The side of the house facing Granada before..
the side of the house facing Granada after :)
The back of the house
The completed Kitchen
refrigerator with build ins

Sunday, June 10, 2012

Finishing up!!

Both boys are inside this super fun box!!

The boys upstairs bathroom


light switches in the boys room

one of the lofts??

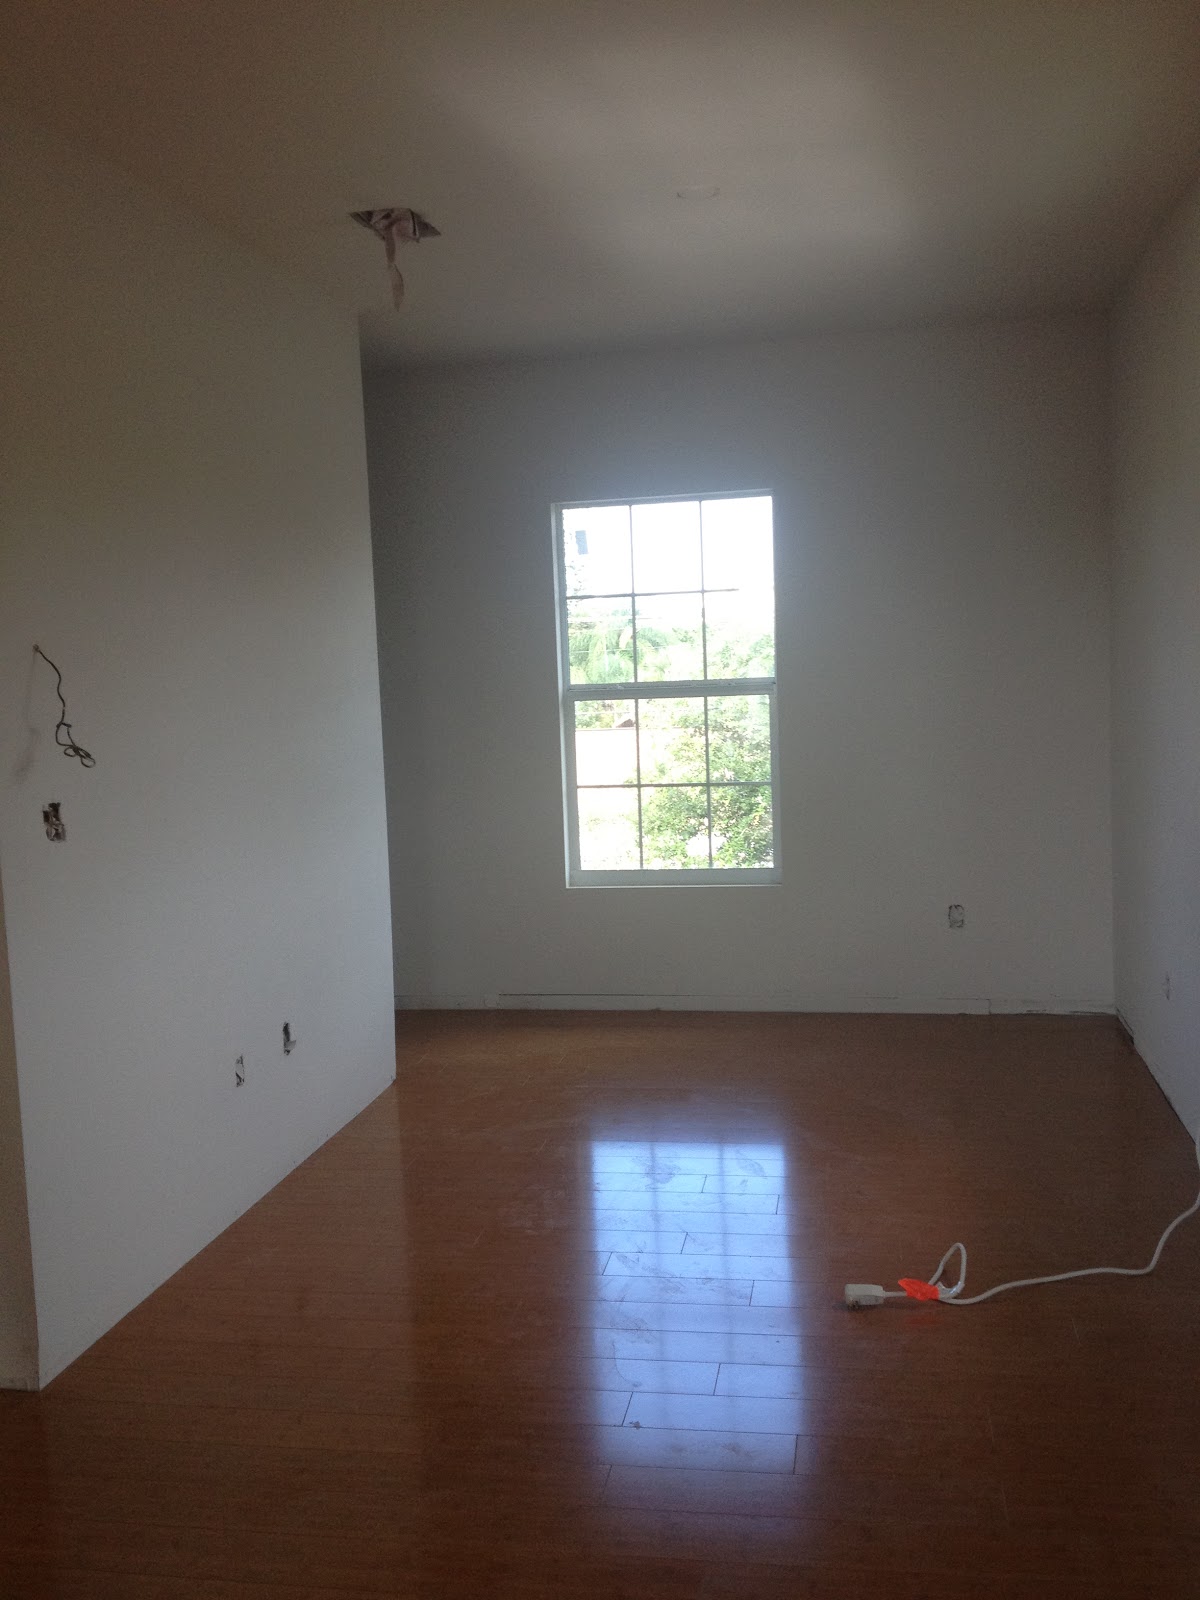
Spare room/nursery

Loft space #2

Master bathroom

Looking into the master bathroom, closet on the left

Master bedroom, sitting area

Looking out the front window in the Master Bedroom

wash sink in the laundry room, washer and dryer will are in use where we live now

downstairs... still a bit of a mess :)
Kitchen... still a mess
downstairs bathroom

Sunday, May 20, 2012

5/17/2012

The kitchen before we moved things around


The boys bathroom

the master bathroom before the floor tiles

the pebble tiles before they went in

the entry way to the Master bathroom

Looking downstairs


the oversized refrigerator I had to have that changed the kitchen for the 3rd time
before the change

before


a close up of the master bath


the floor in the master bathroom